
Has your iRobot Roomba 500 vacuum cleaner stopped cleaning its full route or won’t hold a charge? The solution is likely a simple battery swap. BattAussie share this guide walks you through diagnosing the issue, selecting a superior replacement battery, and installing it yourself in minutes.
1. Is It the Battery? Diagnosing Common Roomba 500 Power Problems
Before buying anything, confirm the culprit. If your Roomba:
- Dies randomly during a cleaning cycle, far from its dock.
- Requires increasingly frequent charges to complete a small area.
- Doesn’t respond even when placed on the charger (after checking the charger is working).
…Then the original Ni-MH battery has likely reached its end of life (usually 1.5-2 years with regular use). This is a normal wear-and-tear issue, not necessarily a robot failure.
2. Upgrading Your Choice: Ni-MH vs. Li-ion for iRobot Roomba 500 Battery
The original Roomba 500 used Nickel-Metal Hydride (Ni-MH) batteries. Today, you have an upgrade option:
- Standard Ni-MH Replacement: A direct, cost-effective swap that restores original performance.
- Li-ion Upgrade Battery: Lithium-ion technology offers several advantages: lighter weight, no memory effect (so partial charges are fine), and often a longer runtime per charge. They can be a worthwhile investment for better cleaning efficiency.
3. How to Choose a Safe and Long-Lasting Replacement Battery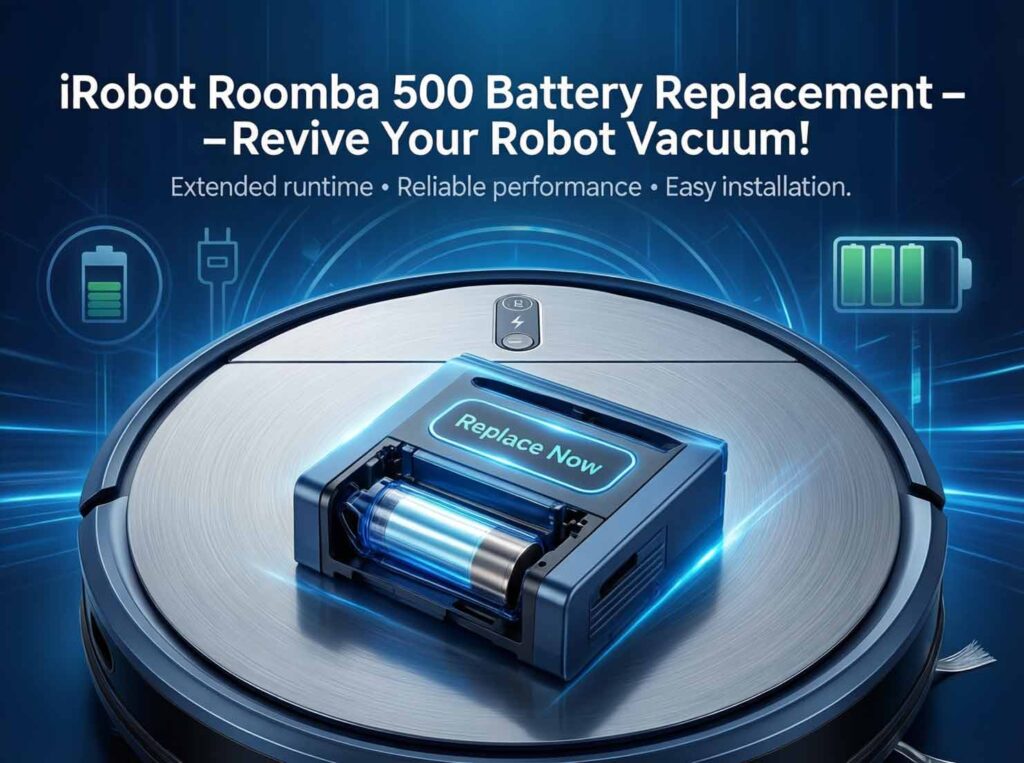
Safety is paramount with any battery-powered device in your home。
- Certifications: Look for mentions of CE, RoHS compliance, which indicate adherence to safety and environmental standards.
- Built-in Protection: A quality battery will have protection against over-charge, over-discharge, and short circuits.
- Brand New Cells: Ensure the product description states “Brand New Cells”—not refurbished or used. This is critical for performance and safety。
- Clear Compatibility: It must be specified for the Roomba 500 series (models like 510, 530, 535, etc.). Using an incorrect battery can damage your robot.
4. Simple DIY Replacement: Step-by-Step Installation
- Turn the Roomba over and remove the cleaning bin.
- Locate the battery compartment latch or screws (usually near the centre).
- Carefully disconnect the old battery’s connector (it may be a simple pull-plug or have a locking tab).
- Connect the new battery’s connector, ensuring it’s secure.
- Place the new battery into the compartment and close it.
- Place the Roomba on its dock for a full, uninterrupted 12-16 hour initial charge. This calibrates the new battery.
5. How to Maxmize New iRobot Roomba Battery‘s Lifespan
- Use the Official Dock: Always use the iRobot Home Base for charging.
- Regular Use: It’s better to run your Roomba frequently (e.g., every 2-3 days) than to let it sit discharged for months.
- Clean Contacts: Periodically check and clean the battery and Roomba’s charging contacts with a dry cloth to ensure good connection.