
Cordless Dyson vacuum cleaners rely on lithium-ion battery packs that eventually degrade and require replacement. AussieBatt expert teams share comprehensive guide provides model-specific instructions for safely replacing batteries in Dyson V7, V8, V10, and V11 models, including critical information about BMS (Battery Management System) connections and proper handling procedures.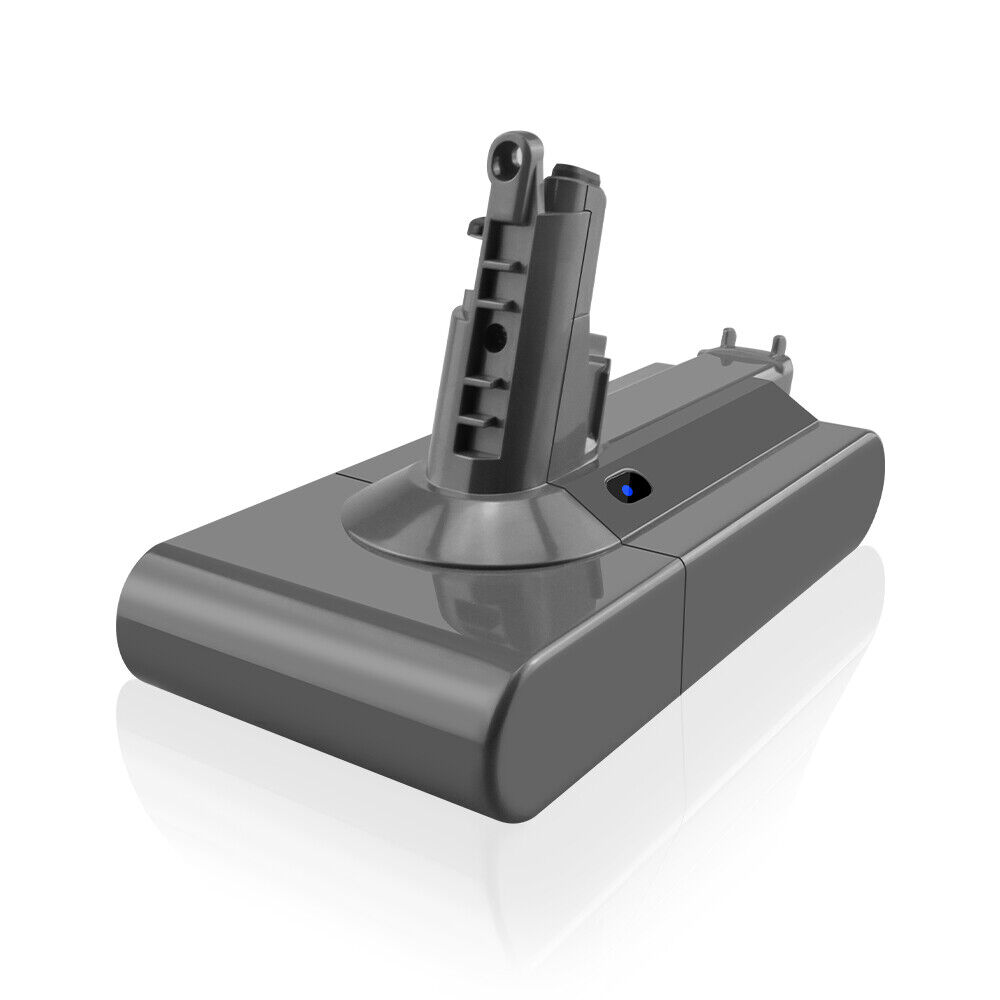
Safety Precautions
Before beginning any battery replacement, follow these essential safety guidelines:
– Power Down Completely: Ensure the vacuum is completely powered off and has cooled down from use
– Work in Clean Area: Clean the vacuum thoroughly before disassembly to prevent dust and debris from entering internal components
– Static Protection: Use an anti-static wrist strap or ground yourself frequently to prevent electrostatic discharge damage to sensitive electronics
– Lithium-ion Safety: Never puncture, crush, or expose lithium-ion batteries to high temperatures. Have a fire extinguisher rated for electrical/chemical fires nearby
– Proper Disposal: Old batteries must be disposed of properly at designated recycling centers – never in regular trash
Essential Tools Required
Basic Tool Kit:
– Phillips #1 and #2 screwdrivers (magnetic tips preferred)
– Torx T10 and T15 screwdrivers (required for most Dyson models)
– Plastic pry tools or spudgers (for connector removal)
– Small container for organizing screws
– Anti-static wrist strap
– Replacement battery (model-specific voltage and capacity)
– Needle-nose pliers (for stubborn connectors)
Model-Specific Tool Requirements:
– V7 Models: Primarily Phillips screws, may require Torx for some variants
– V8, V10, V11 Models: Torx T10 and T15 screwdrivers are essential
– V11 Models: May require specialized pry tools due to tight tolerances
Model-Specific Replacement Procedures
Step 1: Preparation
Place the main body on its side on a flat surface, and locate the two screws near the battery compartment.
Step 2: Access Battery Compartment
To remove the V7 battery pack, you’ll need to unscrew 3 Philips screws. One screw is located on the handle, while the other two are on the bottom of the vacuum.
Step 3: Remove Old Battery
Unscrew the screws and gently pull the battery away from the main body.
Step 4: Disconnect BMS Connector
Gently unplug the battery connector from the vacuum’s wiring harness. A plastic pry tool or fingernail works well here. Take care not to tug on the wires.
Step 5: Install New Battery
Connect the new battery’s BMS connector first, ensuring proper alignment. The connector should click into place securely.
Step 6: Secure Battery
Place the new battery in position and secure with the three Philips screws (one on handle, two on bottom).
Step 7: Test Operation
Reassemble any removed components and test the vacuum’s operation before final reassembly.
Step 1: Preparation
Detach the wand and motorhead from the main body to provide better access.
Step 2: Access Battery Cover
Locate and remove the screws securing the battery cover. V8 models typically use Torx T10 screws.
Step 3: Open Battery Compartment
Carefully open the battery cover, releasing any clips that may be holding it in place.
Step 4: Disconnect BMS
The V8 uses a different connector style than the V7. Gently disconnect the BMS connector using a plastic pry tool to avoid damaging the delicate pins.
Step 5: Remove Old Battery
Remove any mounting screws or adhesive securing the battery pack, then carefully lift out the old battery.
Step 6: Install New Battery
Position the new battery and reconnect the BMS connector. Ensure the connection is secure before proceeding.
Step 7: Reassembly
Replace the battery cover and secure all screws. Reattach the wand and motorhead components.
Step 1: Preparation
Power off completely and clean the vacuum before beginning disassembly.
Step 2: Access Battery Area
The V10 requires Torx T15 screwdrivers for most battery compartment screws. Remove the screws securing the battery housing.
Step 3: BMS Connector Handling
The V10 uses a more complex BMS system. Carefully disconnect the main power connector and any secondary communication cables.
Step 4: Battery Removal
Remove mounting hardware and carefully extract the old battery pack. V10 batteries are typically larger and heavier than V7/V8 models.
Step 5: New Battery Installation
Install the new battery, ensuring all mounting points align correctly. Reconnect all BMS connectors in the proper sequence.
Step 6: Calibration
After installation, the V10 may require a full charge/discharge cycle to calibrate the new battery with the BMS.
Step 1: Preparation
Confirm your Dyson model before purchasing replacement parts, as V11 models have specific voltage and connector requirements.
Step 2: Disassembly
V11 models often have hidden screws under rubber feet or labels. Use the specialized disassembly screwdriver set compatible with Dyson V11 models.
Step 3: BMS System Access
The V11 features an advanced BMS with communication protocols. The BMS can be accessed through programmer debugging functions to send I2C commands.
Step 4: Connector Removal
Use plastic pry tools to carefully disconnect all BMS connectors. The main power connector may require gentle prying with a fingernail or plastic tool.
Step 5: Battery Extraction
Remove the old battery pack, noting any thermal pads or insulating materials that need to be transferred to the new battery.
Step 6: Installation
Install the new battery, ensuring proper alignment of all mounting points and connectors.
Step 7: System Reset
After installation, the V11 may require a system reset to recognize the new battery properly.
BMS (Battery Management System) Handling Guide
Understanding BMS Importance
The BMS is critical for battery safety, performance monitoring, and communication with the vacuum’s main control system. FW-Dyson-BMS is a replacement firmware for the microcontroller inside Dyson V6 vacuum batteries that can enhance functionality.
BMS Connector Types by Model:
– V7: Simple 2-pin connector with latch mechanism
– V8: 3-pin connector with communication lines
– V10: Multi-pin connector with power and data lines
– V11: Advanced connector with I2C communication capability
Critical BMS Handling Procedures:
1. Connector Alignment: Always align connectors properly before insertion to prevent pin damage
2. Gentle Force: Use minimal force when connecting/disconnecting BMS connectors
3. ESD Protection: Always wear an anti-static wrist strap when handling BMS components
4. Firmware Considerations: Some replacement batteries may require BMS firmware updates for full compatibility
BMS Troubleshooting:
– No Power: Check BMS connector seating and ensure all pins are making contact
– Flashing Lights: More than 12 flashing lights typically indicates a battery or BMS issue requiring replacement
– Reduced Runtime: Persistent reduced runtime after replacement may indicate BMS calibration issues
Post-Installation Procedures
Initial Charging Protocol:
1. First Charge: Charge the new battery for at least 4 hours before first use
2. Calibration Cycle: Perform 3 complete charge/discharge cycles to calibrate the BMS
3. Runtime Testing: Monitor runtime performance and compare to specifications
Performance Verification:
– V7/V8: Expect 20-40 minutes runtime depending on power mode
– V10: Expect 40-60 minutes runtime in normal mode
– V11: Expect 60+ minutes runtime with proper battery capacity
Maintenance Tips:
– Storage: Store at 40-60% charge if not using for extended periods
– Temperature: Avoid charging or storing in temperatures below 0°C or above 40°C
– Cleaning: Keep battery contacts clean with isopropyl alcohol on a cotton swab
Troubleshooting Dyson Vacuum Batteries Common Issues
Battery Not Detected:
– Recheck all BMS connections
– Reset the vacuum by removing and reinstalling the battery
– Check for firmware updates through Dyson app (V10/V11 models)
Reduced Runtime:
– Ensure proper BMS calibration through full charge/discharge cycles
– Check for background power drain from attachments
– Verify battery capacity matches original specifications
Overheating Issues:
– Ensure proper ventilation around the battery compartment
– Check for blocked cooling vents
– Reduce usage time in MAX power mode
Replacing the battery in handheld Dyson V7, V8, V10, and V11 vacuums requires careful attention to model-specific details, proper tools, and respect for the BMS system that manages battery performance and safety. By following above definitive guide precisely, you can extend the life of your Dyson vacuum battery and restore its original performance. Always prioritize safety when working with lithium-ion batteries, and when in doubt, consult professional repair services or official Dyson support channels.